These gluten-free jam thumbprint cookies are a healthier version of a traditional holiday favorite. The entire family will enjoy them!
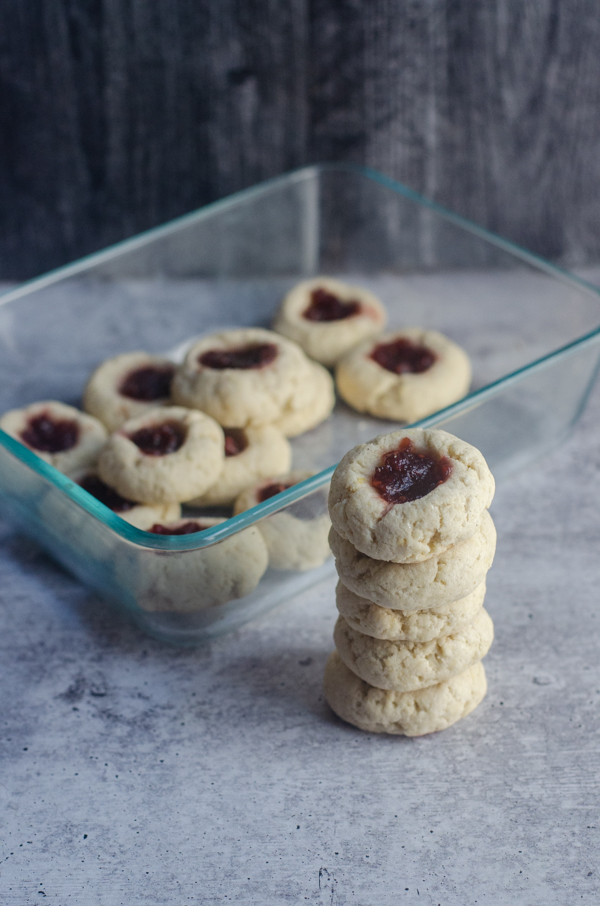
Gluten-free jam thumbprint cookies that everyone will love!
If you celebrate the holidays, then you know how much joy comes from making traditional cookie recipes, oftentimes handed down from your grandmother.
Jam thumbprint cookies are a recipe I used to always make with my mom around Christmas. It was always one of my favorite cookie recipes. It wasn’t terribly difficult to come up with a gluten-free jam thumbprint cookie, that I feel comfortable eating.
Not only that, but these little cookies are packed full of incredibly decadent butter, vanilla and jam, and who doesn’t love that combination?? It’s simply one of the best.
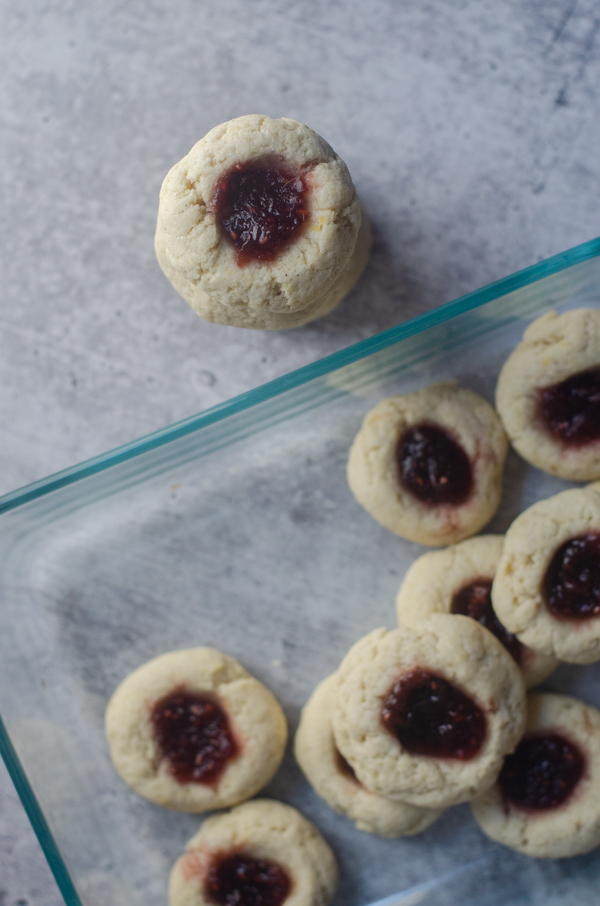
Easy to make and deliciously decadent.
Not only are these cookies delicious, but they are really very simple to make. They take the cake (cookie cake?) when it comes to minimal ingredients and simplicity of recipe. You will need the following ingredients:
- Gluten-free all-purpose flour (I like the Bob’s Red Mill brand)
- White or brown sugar. If you want a healthier alternative, coconut sugar also works well
- Eggs
- Room temperature butter
- Vanilla extract
- Raspberry jam, or jam of your choosing
Start by mixing the flour and sugar in a bowl. Add in the eggs, butter and vanilla extract. Using a mixer, spoon or your hands, mix or knead until the ingredients are well-incorporated, and there are no clumps of butter or egg.
Roll the dough into balls, approximately 1-1/2″ in diameter. Place balls onto a baking sheet lined with parchment paper. Press your thumb into each cookie to form a crater in the middle. If you like lots of jam, make the craters nice and big. Place cookies approximately 1 inch apart on sheet.
Repeat until all dough is used up. Scoop jam into the crater of each cookie. Fill to approximately level with the top of the sides of the cookie, so it does not overflow.
Bake for 12-14 minutes. The edges of these cookies do not brown as quickly as those made using normal flour. If after 14 minutes, the cookies do not look done, I recommend taking a close look at them before cooking longer.
Store at room temperature in an air-tight container for up to a week. They can also be frozen in an air-tight container for up to a month. Thaw at room temperature until no longer frozen.
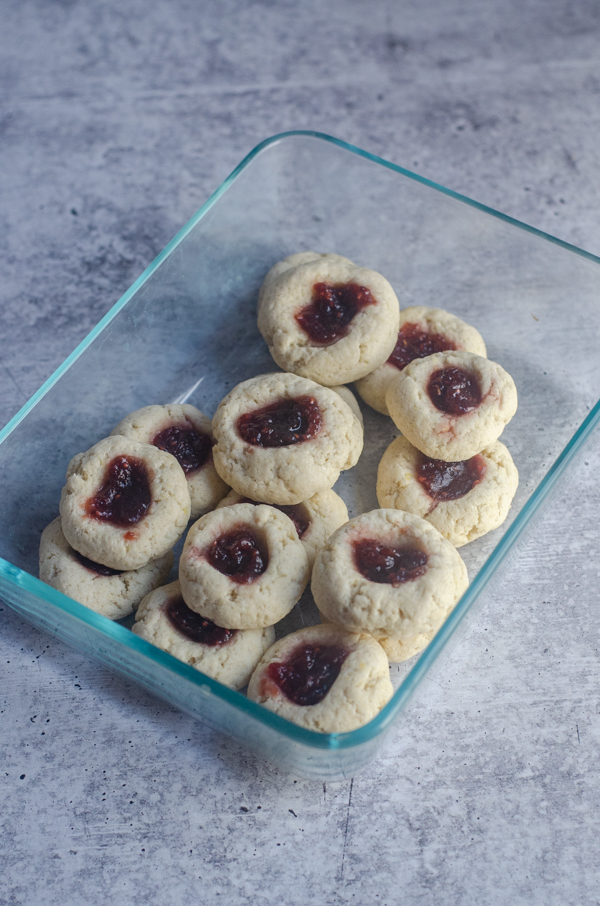
What should I do if the dough is too sticky or too dry?
If the dough is too sticky, add more flour, one teaspoon at a time. If the dough is too dry, add in just a splash of milk (non-dairy is fine, if you prefer).
Do I need to chill the dough?
No, you do not. That is what makes these cookies so downright simple. No fuss needed here!
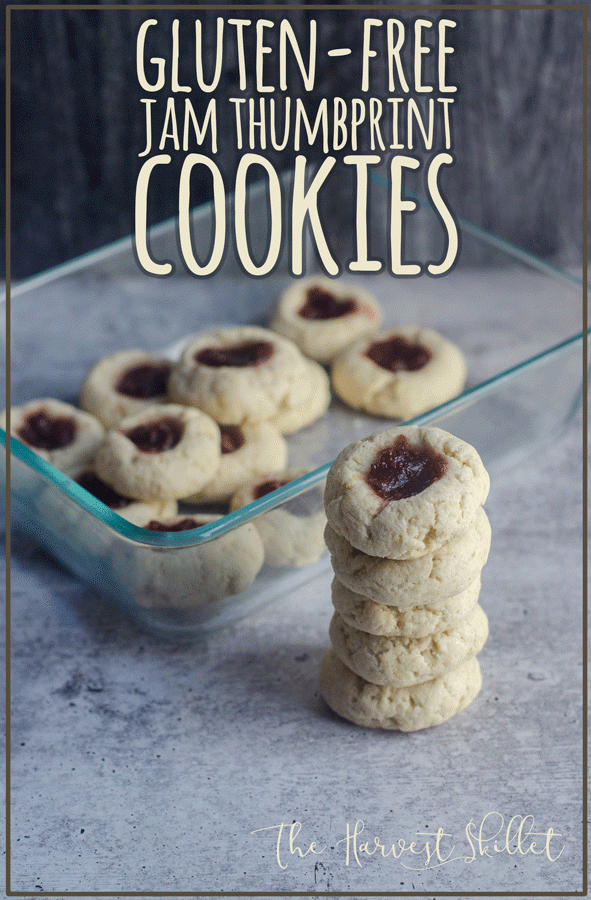
If you give these gluten-free jam thumbprint a try, please let me know what you think in the comments below. Also be sure to follow me on Facebook and Pinterest so you don’t miss a recipe!
You may also enjoy:
Gluten-Free Jam Thumbprint Cookies
Ingredients
- 2 cups all-purpose gluten-free flour I like Bob's Red Mill
- 1/2 cup granulated white sugar or granulated sweetener of choice coconut sugar or brown sugar also works well
- 2 large eggs
- 1/2 cup room temperature unsalted butter 8 tablespoons
- 1 teaspoon vanilla extract
- 1/2 cup raspberry jam you can also use strawberry, blueberry or any other berry jam you like. You can also try these with apple or pumpkin butter for a fun twist!
Instructions
- Preheat oven to 350F (175C).
- Mix flour and sugar in a bowl. Add in eggs, room temperature butter and vanilla extract. Using a hand mixer or your hands, mix dough until well-combined and smooth (no clumps or butter or egg).
- Roll dough into balls approximately 1-1/2 inches in diameter (40 cm). Place balls onto a baking sheet lined with parchment paper. Press your thumb into each cookie to form a crater in the middle. If you like lots of jam, make the craters nice and big. Place cookies approximately 1 inch apart on sheet.
- Repeat until all dough is used up. Scoop jam into the crater of each cookie. Fill to approximately level with the top of the sides of the cookie, so it does not overflow.
- Bake for 12-14 minutes. The edges of these cookies do not brown as quickly as those made using normal flour. If after 14 minutes, the cookies do not look done, I recommend taking a close look at them before cooking longer.
- Store at room temperature in an air-tight container for up to a week. They can also be frozen in an air-tight container for up to a month. Thaw at room temperature until no longer frozen.


